© Copyright Red Lodge Helicopters 2026


Westland Wessex Mk2
Here’s a few photo’s showing the build stages for our recently completed turbine powered Mk2 Wessex.
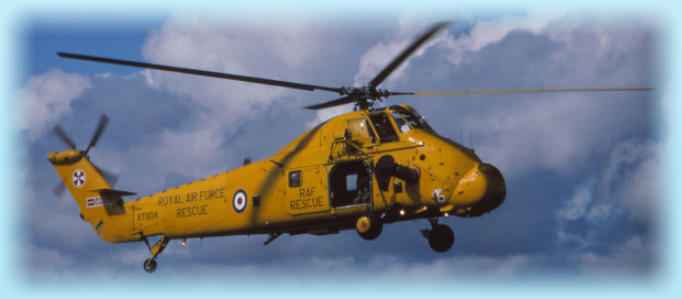
The full sized subject XT604
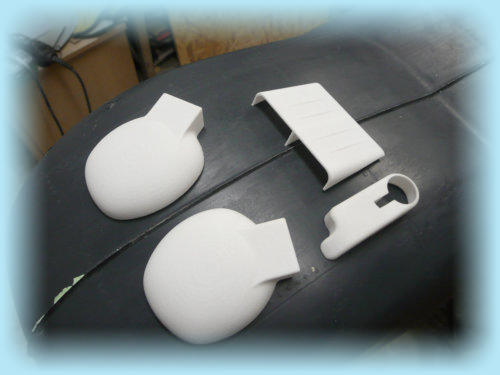
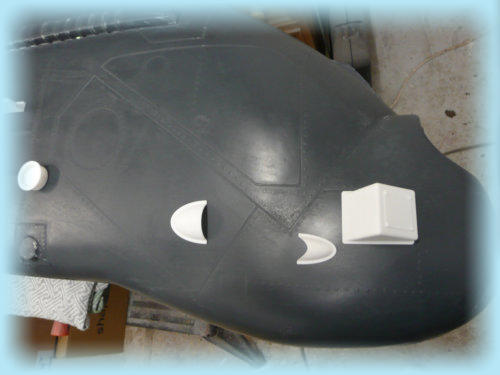
Marking out the position of the 3D printed parts
before cutting out the opening’s, windows and removal
of the nose section.
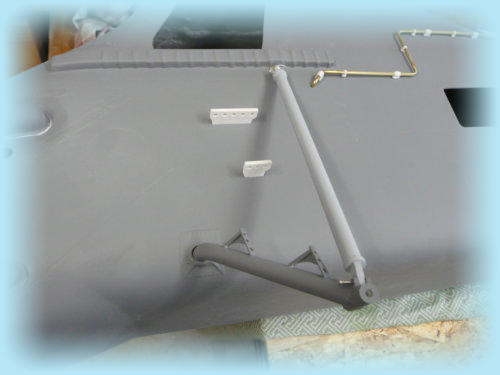
Mounting the undercarriage legs.
The pipework in this photo was added before
it was decided to model a Mk 2 , this was
later removed and the windows reshaped
from the original Mk5 version.
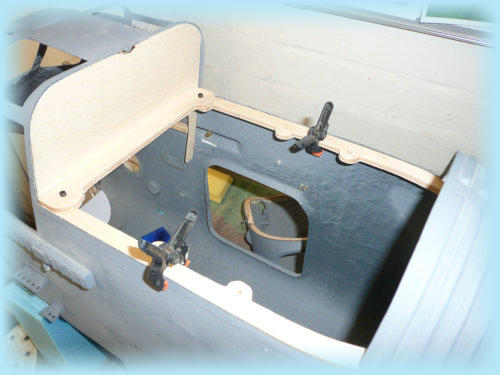
Installation of the woodwork to hold the turbine
mechanic braces.
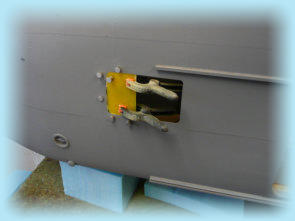
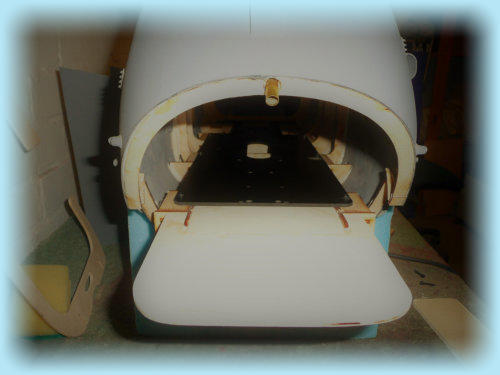
Battery tray added as far forward as the nose will
allow, this will get the batteries as far forward as
possible to help with the CofG
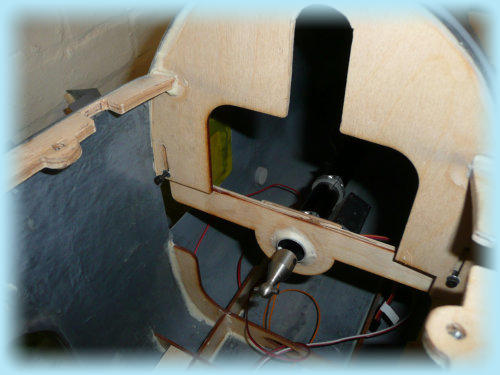
Tail boom support and tail drive shaft added.
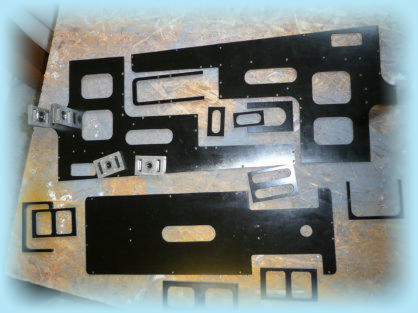

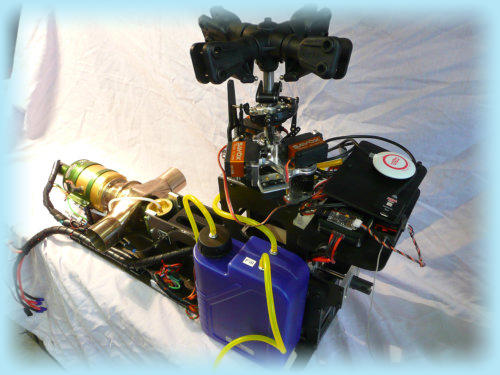
Assembling the turbine mechanics
Completed mechanics with fuel tanks added.
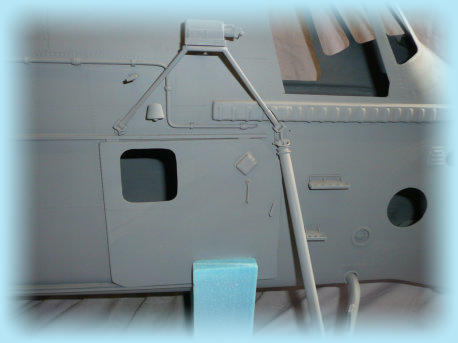
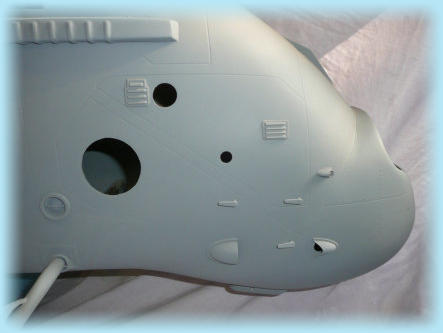
3D printed parts added.
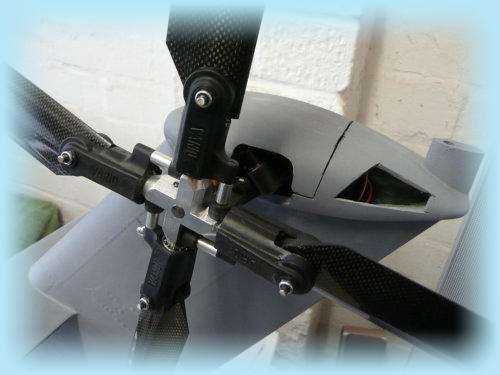
Vario four blade tail fitted to the tail gerabox.
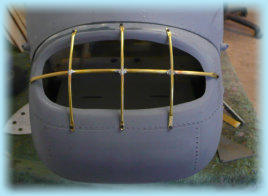
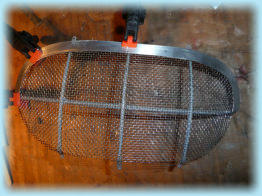
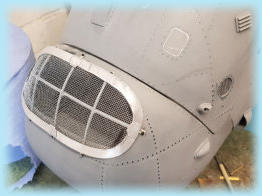
Building the FOD Guard for the turbine air intake
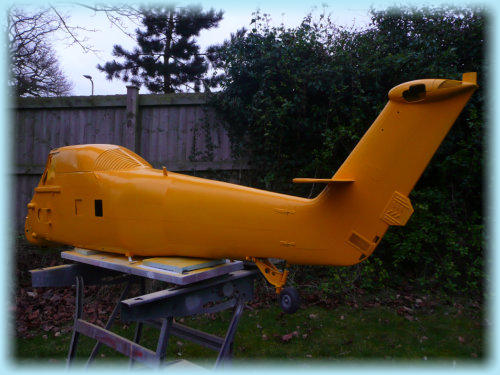
First stage of the painting process,
yellow all over.....................
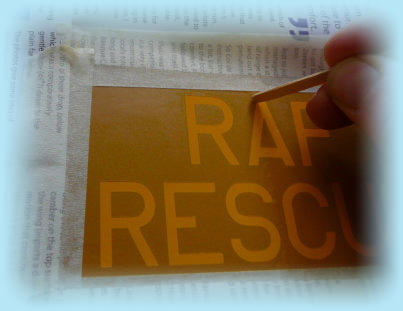
then add all the lettering and logo’s.
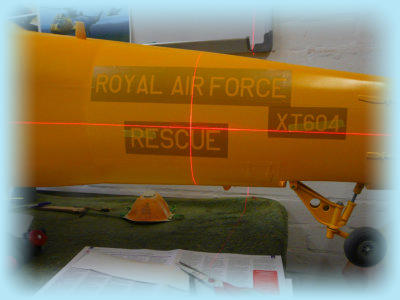
Once all the paint work was done and allowed to dry
we used quite a heavy weathering technique to “dirty” the
model to give a well used look.
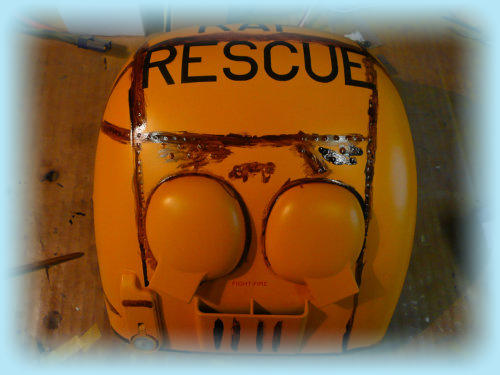
Stage 1
Add the dirt !
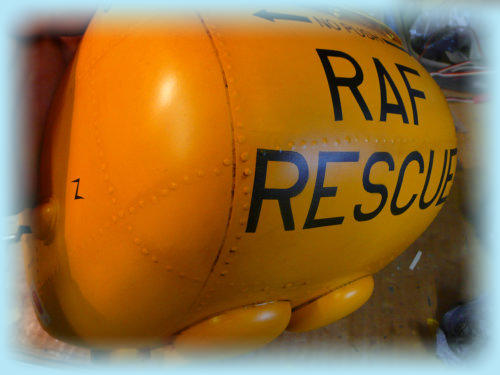
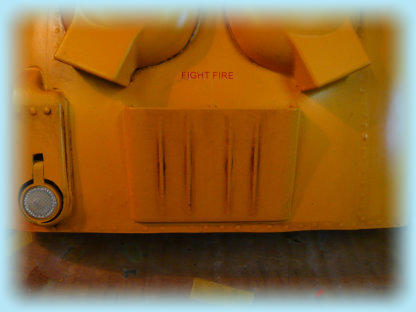
Stage 2
Once the dirty bits have partially dried,
rub most of it back off. Leaving just the panel lines
and details highlighted.
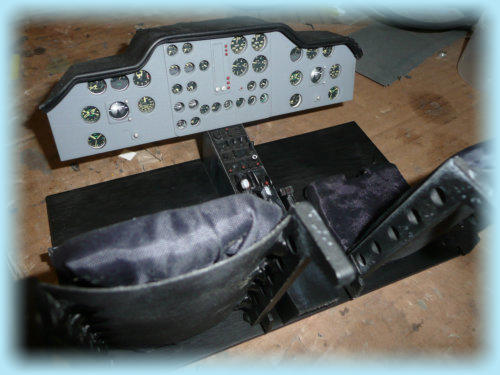
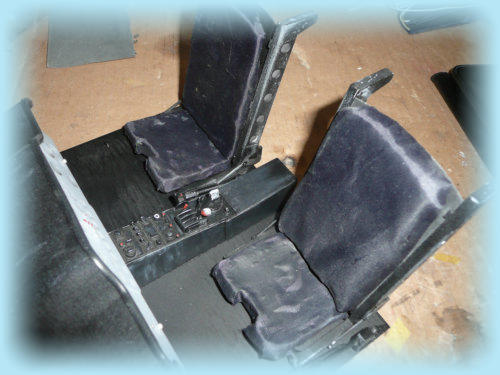
Cockpit assembled ready for installation.
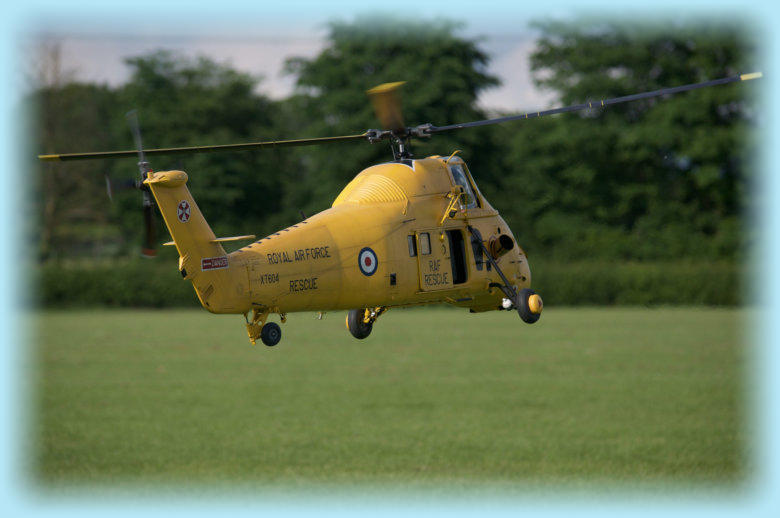
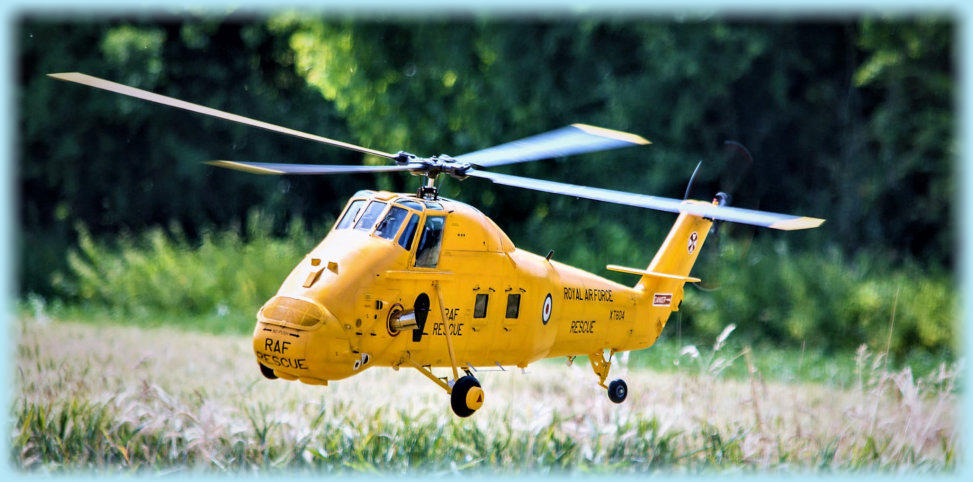
Photo courtesy of Sam Turner
Photo courtesy of Dr Paul Hazell


