© Copyright Red Lodge Helicopters 2024

Woodwork assembly.
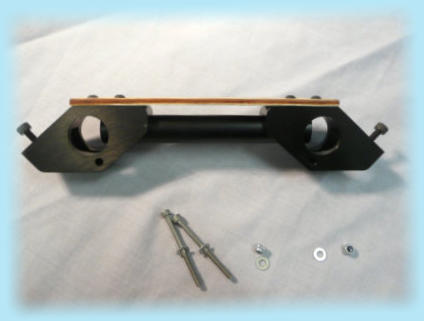
Use the two landing gear blocks which have the two threaded
holes on the upper side and the 109mm length of 15mm diameter tube
bolt these to wood part Y
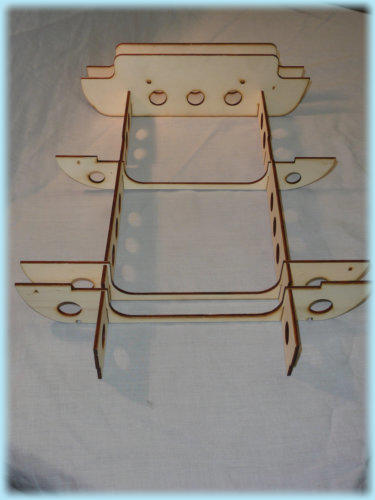
Parts A through to G can be assembled. The above assembly is glued in place
between bulk head’s F and G using the supplied M3 x 40mm bolts for alignment.
The woodwork should be assembled on a flat surface and
all joints should be checked for alignment with a square
during the build process.
We recommend using Loctite Hysol EA 9462 for the woodwork
joints and also for fixing the woodwork into the fuselage.

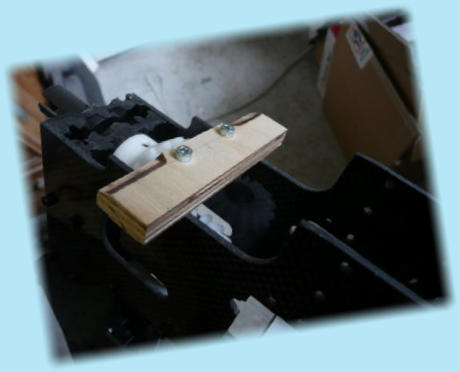
Next assemble parts H, J (6mm) and L
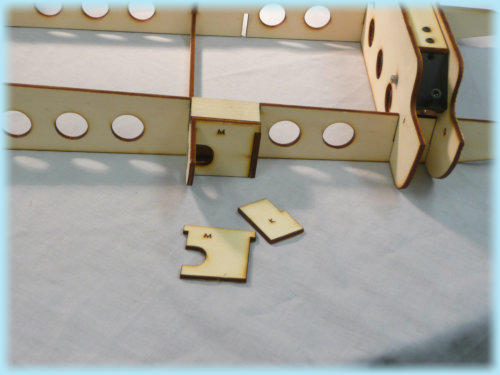
Followed by K, M and I (6mm)
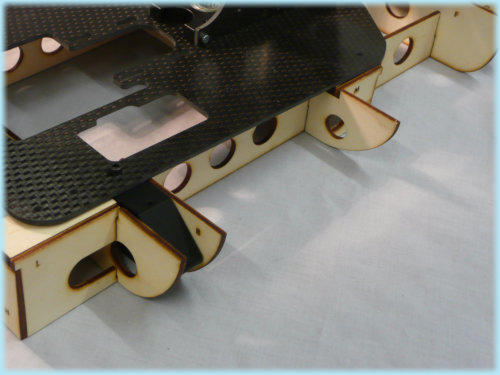
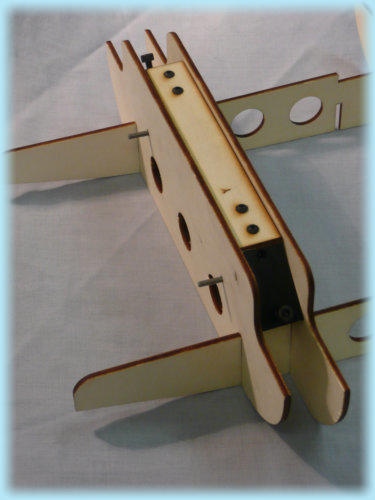
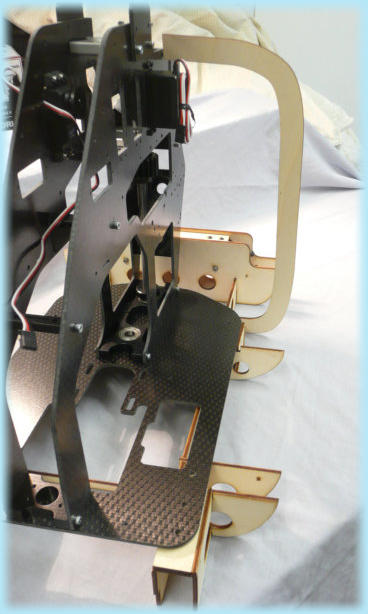
Attach the other two undercarriage mounting blocks to
the mechanics baseplate and slot into place between
bulkhead’s A and B
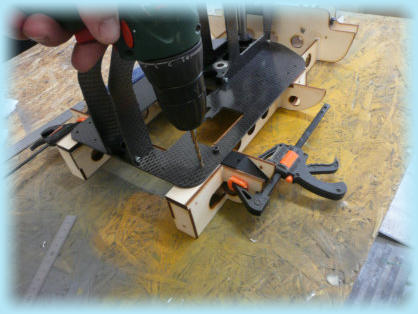
Carefully check that the baseplate is square to the woodwork and drill
four 4mm holes.
Remove the baseplate and enlarge the holes out to 5.5mm
Fit and glue the 4 captive nuts into the base of the woodwork.
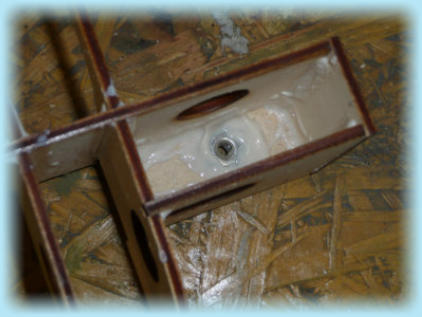
Note: These are located in the 3rd hole back from
the front of the mechanics.
These pages for the R44 are a guide to assembling the kit.

The inside of the centre rib needs to be sanded flat to
provide a good fit for the 6mm ribs part R.
This rib needs to be made removable to allow fitting
of the mechanics.
We cut away the centre fibreglass section, fitted the wood
part R with 2mm captive nuts..........
and then glued the fibreglass rib back
on to the wood work, taking care not to
allow the glue to bond the whole thing in place.
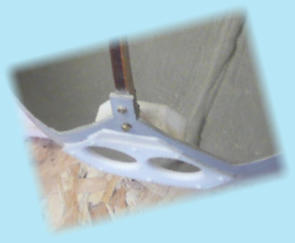
The two ribs W are added
after the installation of
the main wood parts
into the fuselage.
These mate up to a piece of 10mm ply
20mm x 80mm which then forms
the brace for the top mount of the
mechanics.
This is bonded to the top inner side of the
fuselage.
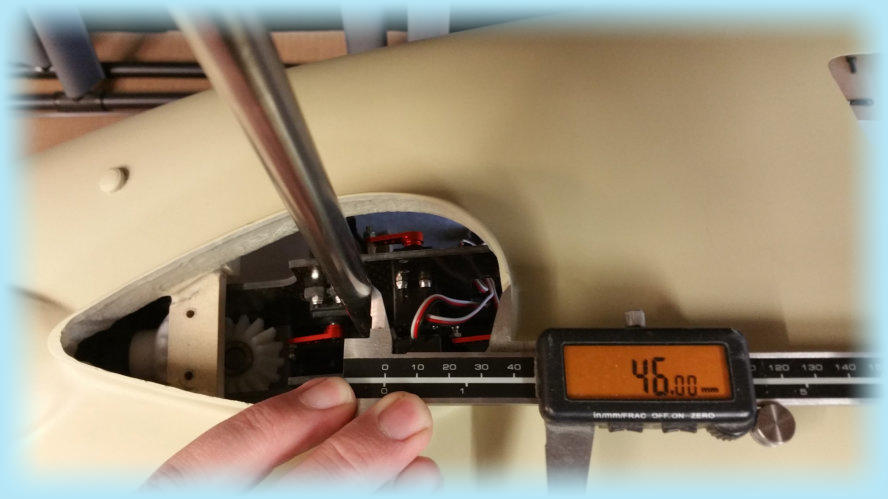
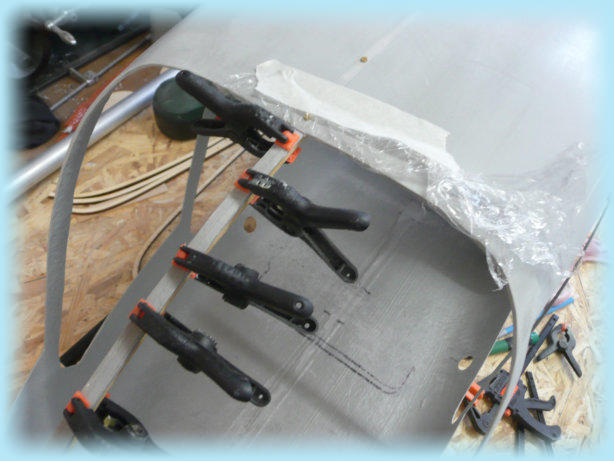
The positioning of the wood work within the fuselage is determined by measuring the distance between the outer edge
of the mast opening to the front of the main shaft.

The wood work can then be bonded in to the fuselage.
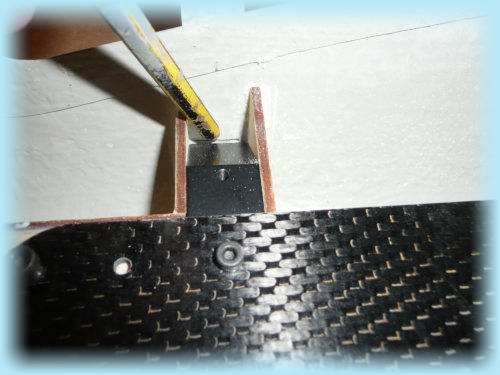
Once the woodwork is in the correct position but before
being bonded into the fuselage, the opening’s
for the landing gear should be marked, then remove
the wood work drill and enlarge the holes to accommodate
the undercarriage legs
IMPORTANT NOTE.
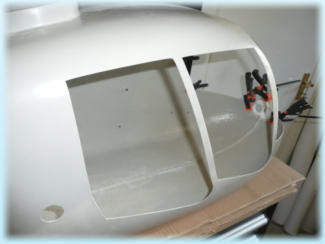
Before cutting out the door opening’s, please decide if you want both
doors hinged so they can open.
If so the rear door needs to be moved back 10mm from the marked position
in the fuselage.
The two ribs W can now be added.