© Copyright Red Lodge Helicopters 2024

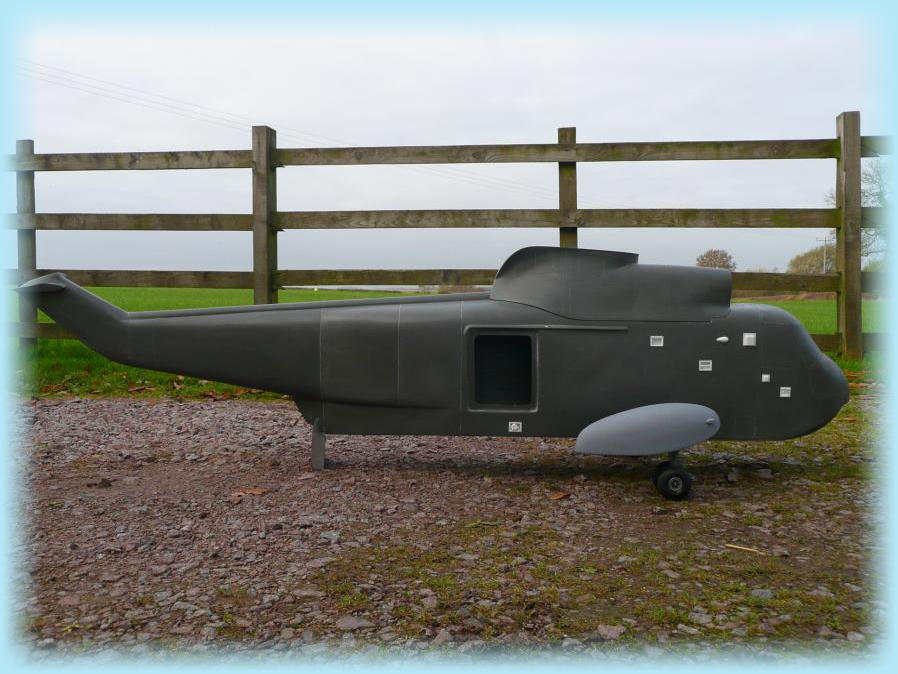
These pages will show the build of the first of our Seaking’s, for information on the kit click here
We’ll be posting updates for the Sea King as and when things progress, so keep checking back for latest news.
‘....>
.


The section below is a guide to assembling the undercarriage.
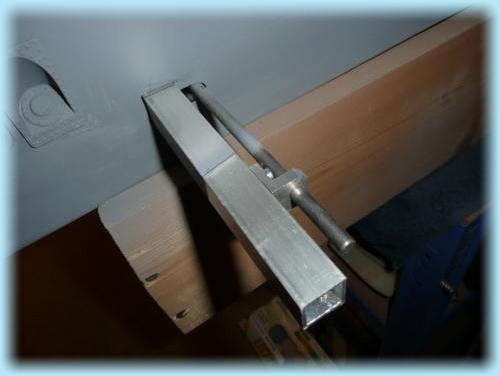
Cut two holes in the fuselage side to allow the
main spar to pass through.
The position for this is marked in the moulding.
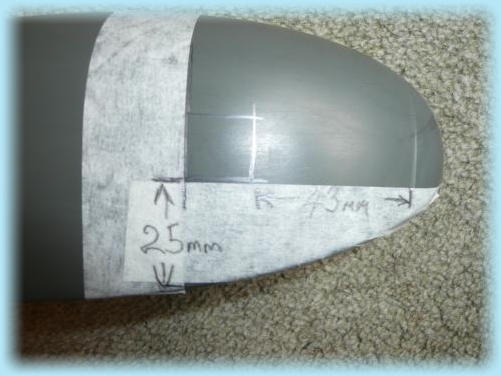
The position for the spar to enter the
wheel pods can be marked using the
front moulding line as a reference
point.
This is the same for both wheel pods.
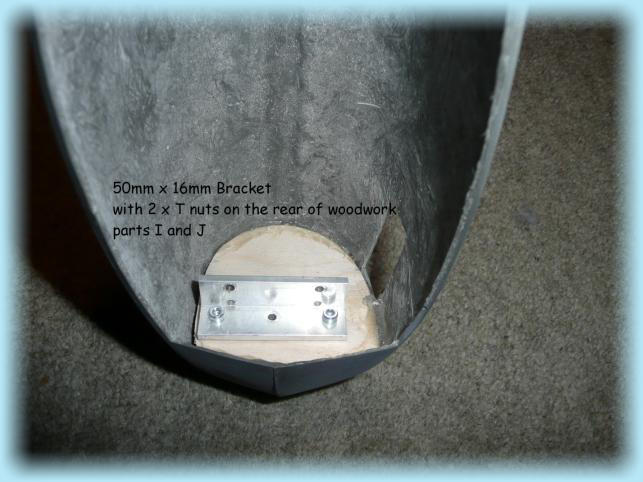
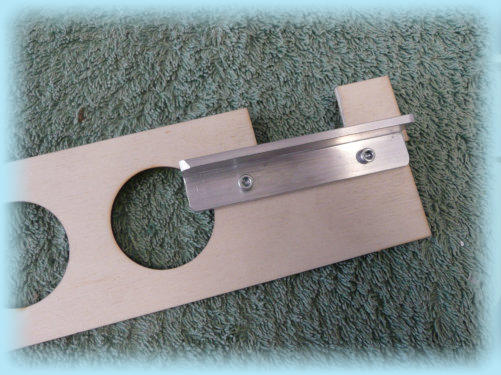
The bracket needs to be attached to the
woodwork with 2 M3 x 10mm bolts and
captive nuts, using the previously cut
hole to align the bracket.
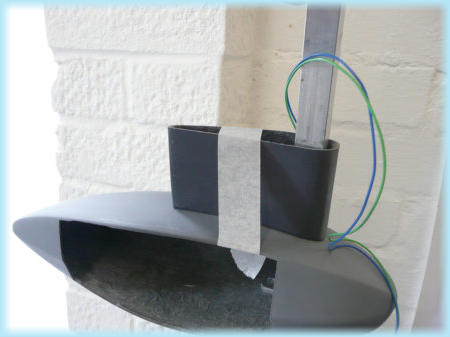
The woodwork can then be glued into place
taking care to align it inside the wheel pod
to give the correct angle of the pod in
relationship with the fuselage.

Also making sure that the pod is at 90 degrees
to the main spar.
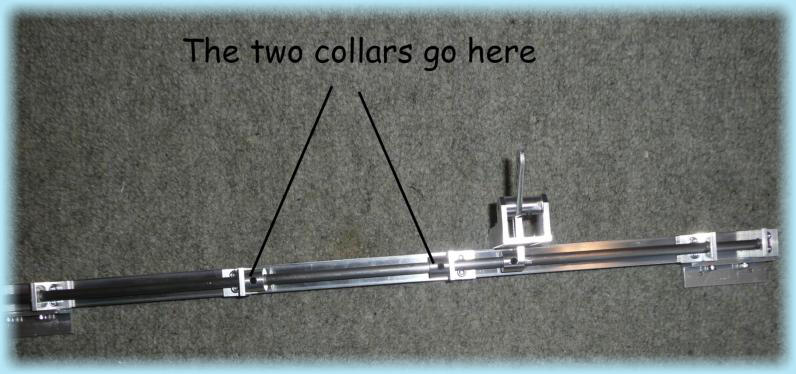
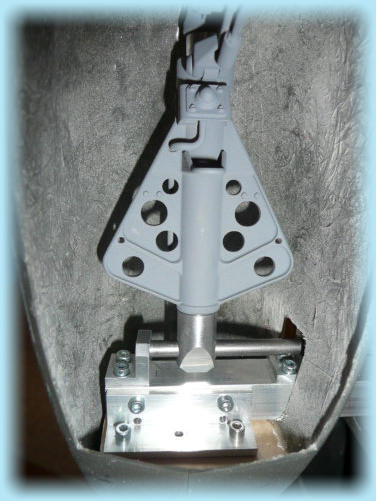
Although the undercarriage mechanism is supplied pre assembled it will
need to be taken apart to enable it to be fitted into the fuselage.
When re-assembling great care must be taken NOT to over tighten the
M3 x 8mm bolts which go into the main spar. These need to be thread locked
when final fitting.
IMPORTANT

If your going to fit nav lights its a good
idea to run the wiring for the LED’s at
this point, before you glue in the
woodwork.

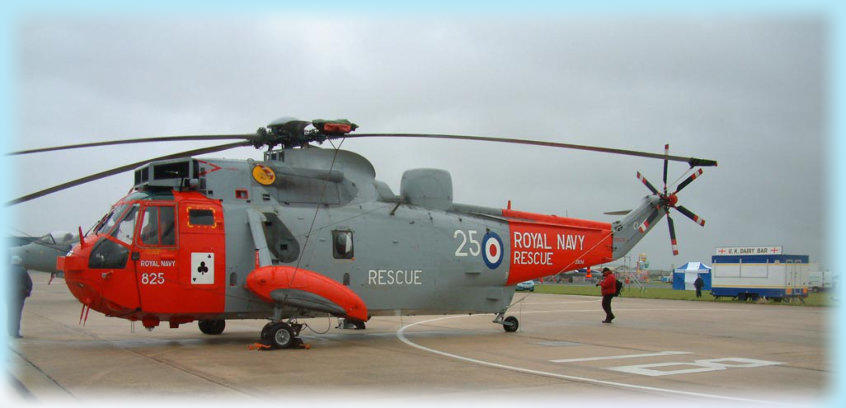
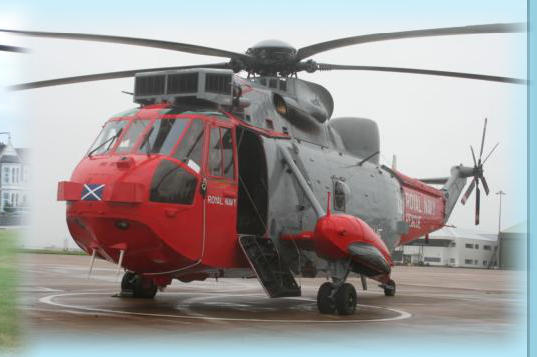
This is the paint scheme for the first model.
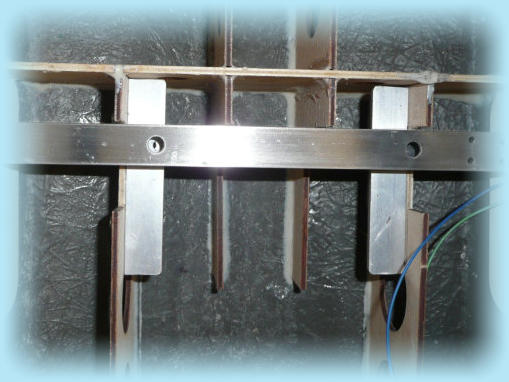

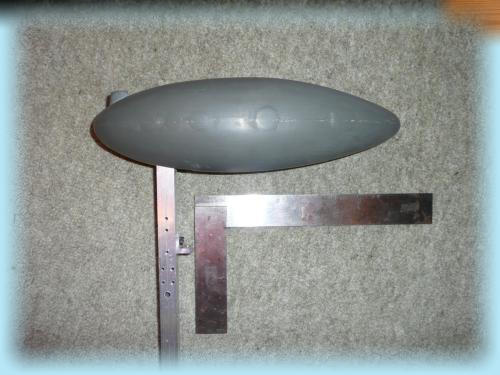
The brackets that hold the 6mm rod are fixed inside
the wheel sponsons.

The winglets can then be trimmed to fit
and glued in place.
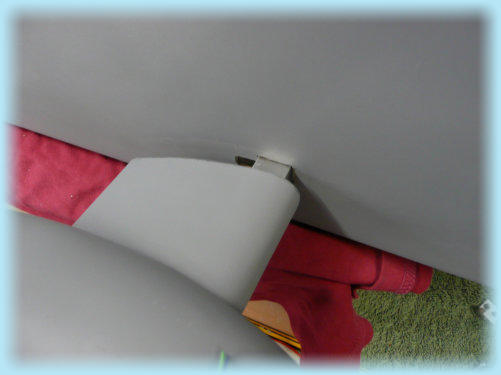
As on the full sized helicopter the
winglets don’t fit flush up to the
side of the fuselage